Are you tired of being stuck inside your local network when working with your Raspberry Pi? Imagine being able to control your Pi from anywhere in the world. Sounds cool, right? Well, today’s your lucky day because I’m about to show you exactly how to make Raspberry Pi accessible from the internet. Whether you're a tech enthusiast or just starting out, this guide is packed with practical tips and tricks that'll turn your Raspberry Pi into a globally accessible powerhouse.
Now, before we dive into the nitty-gritty details, let me give you the lowdown on why this matters. If you’ve ever wanted to remotely access files, run scripts, or even stream media from your Pi, making it accessible from the internet is the way to go. It’s not as complicated as it sounds, and with a bit of patience, you’ll be up and running in no time.
But wait, there’s more! We’ll also cover security best practices because, let’s face it, opening your Pi to the internet isn’t something you want to mess up. So, grab a cup of coffee (or tea if that's your jam), and let’s get started on this Raspberry Pi adventure!
Read also:Is Lilith Berry Ai Unveiling The Truth Behind The Digital Phenomenon
Here’s a quick overview of what we’ll cover:
- Introduction to Remote Access
- Setting Up Your Raspberry Pi
- Understanding Port Forwarding
- Dynamic DNS Explained
- Securing SSH Access
- Configuring Your Firewall
- Exploring VPN Options
- Security Tips for Remote Access
- Troubleshooting Common Issues
- Wrapping It All Up
Introduction to Remote Access
So, you’ve got this tiny computer called the Raspberry Pi, and you want to take it to the next level by accessing it from anywhere in the world. That’s where remote access comes in. Essentially, remote access means you can control your Pi from another device, even if it’s miles away.
There are a bunch of reasons why you’d want to do this. Maybe you’re running a home server, automating tasks with Python scripts, or even hosting a website. Whatever your reason, making your Raspberry Pi accessible from the internet opens up a whole new world of possibilities.
Why Should You Care?
Here’s the deal: remote access isn’t just for tech wizards. It’s a practical solution for anyone who wants to streamline their workflow or manage their projects more efficiently. Plus, it’s a great way to learn more about networking and cybersecurity.
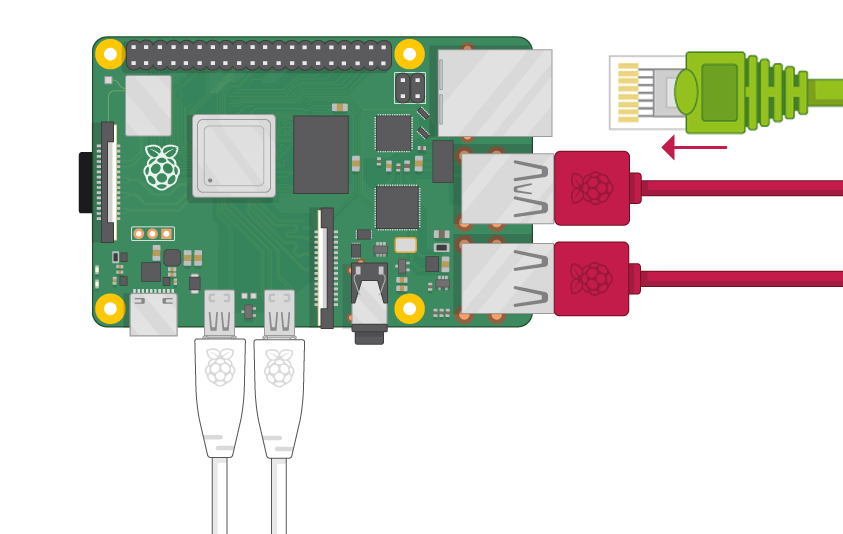
Setting Up Your Raspberry Pi
Before you can make your Raspberry Pi accessible from the internet, you need to make sure it’s set up correctly. This involves installing the right software, configuring your network settings, and ensuring everything is running smoothly.
Step 1: Install Raspberry Pi OS
First things first, you’ll need to install Raspberry Pi OS on your Pi. This is the operating system that powers your device and makes it capable of all sorts of awesome things. You can download the latest version from the official Raspberry Pi website.
Read also:Whats The Deal With Mmsdoseus A Deep Dive Into The World Of Messaging Platforms
Step 2: Update Your System
Once you’ve got Raspberry Pi OS installed, it’s a good idea to update your system to ensure you’ve got the latest software and security patches. Open up a terminal and run the following commands:
sudo apt updatesudo apt upgrade
These commands will update your package list and upgrade any outdated software on your Pi.
Understanding Port Forwarding
Port forwarding is one of the key steps in making your Raspberry Pi accessible from the internet. Think of it like giving your Pi a direct line to the outside world. Without port forwarding, your Pi would be stuck behind your router’s firewall, unable to receive incoming connections.
What Is Port Forwarding?
Port forwarding is basically telling your router to send incoming traffic on a specific port to your Raspberry Pi. For example, if you want to access your Pi via SSH (Secure Shell), you’d forward port 22 to your Pi’s local IP address.
How to Set Up Port Forwarding
The exact steps for setting up port forwarding depend on your router, but here’s a general guide:
- Log in to your router’s admin interface (usually by typing
192.168.0.1or192.168.1.1into your browser). - Find the port forwarding section and create a new rule.
- Set the external port to the port you want to use (e.g., 22 for SSH).
- Set the internal IP address to your Pi’s local IP address.
Once you’ve set up port forwarding, your Pi will be able to receive incoming connections from the internet.
Dynamic DNS Explained
Dynamic DNS (DDNS) is another important piece of the puzzle when it comes to making your Raspberry Pi accessible from the internet. It’s especially useful if your internet service provider assigns you a dynamic IP address, which can change from time to time.
What Is DDNS?
DDNS allows you to assign a domain name to your Pi, even if your IP address changes. This means you can always access your Pi using the same domain name, regardless of your current IP address.
Setting Up DDNS
There are several DDNS services available, such as No-IP and DuckDNS. Here’s how you can set up DDNS using DuckDNS:
- Create an account on DuckDNS.
- Install the DuckDNS client on your Raspberry Pi by running the following command:
sudo apt install duckdns- Follow the prompts to configure the client with your account details.
Once you’ve set up DDNS, you’ll be able to access your Pi using a domain name like myraspberrypi.duckdns.org.
Securing SSH Access
SSH (Secure Shell) is one of the most common ways to access your Raspberry Pi remotely. However, leaving SSH open to the internet without proper security measures is a recipe for disaster. That’s why it’s crucial to secure your SSH access.
Change the Default SSH Port
One simple way to improve security is to change the default SSH port from 22 to something less obvious. Here’s how you can do it:
- Open the SSH configuration file:
sudo nano /etc/ssh/sshd_config- Find the line that says
Port 22and change it to a different number, like 2222. - Restart the SSH service:
sudo systemctl restart ssh
Use Key-Based Authentication
Another important security measure is to disable password authentication and use key-based authentication instead. This means you’ll need a private key to access your Pi, making it much harder for unauthorized users to gain access.
Configuring Your Firewall
A firewall is like a digital bouncer that controls who can access your Pi. Configuring your firewall properly is essential for protecting your device from unwanted intruders.
Using UFW (Uncomplicated Firewall)
UFW is a user-friendly firewall tool that’s perfect for beginners. Here’s how you can set it up:
- Install UFW:
sudo apt install ufw- Allow SSH access:
sudo ufw allow 2222/tcp- Enable the firewall:
sudo ufw enable
With UFW enabled, your Pi will be much safer from potential threats.
Exploring VPN Options
If you’re looking for an extra layer of security, setting up a VPN (Virtual Private Network) is a great option. A VPN creates a secure tunnel between your device and your Raspberry Pi, making it almost impossible for hackers to intercept your data.
Why Use a VPN?
A VPN encrypts all traffic between your device and your Pi, ensuring that no one can snoop on your activities. It’s especially useful if you’re accessing your Pi from public Wi-Fi networks, where security risks are higher.
Setting Up a VPN
There are several VPN services available, such as OpenVPN and WireGuard. Here’s a quick guide to setting up WireGuard on your Raspberry Pi:
- Install WireGuard:
sudo apt install wireguard- Generate private and public keys:
wg genkey | tee privatekey | wg pubkey > publickey- Configure the WireGuard interface:
sudo nano /etc/wireguard/wg0.conf
Once you’ve set up WireGuard, you’ll be able to connect to your Pi securely from anywhere in the world.
Security Tips for Remote Access
Security should always be at the forefront of your mind when making your Raspberry Pi accessible from the internet. Here are a few tips to keep your Pi safe:
- Keep your software up to date.
- Use strong, unique passwords.
- Enable two-factor authentication whenever possible.
- Monitor your logs for suspicious activity.
By following these tips, you’ll significantly reduce the risk of unauthorized access to your Pi.
Troubleshooting Common Issues
Even with the best planning, things can sometimes go wrong. Here are a few common issues you might encounter and how to fix them:
Issue 1: Unable to Connect via SSH
If you’re having trouble connecting to your Pi via SSH, check the following:
- Make sure SSH is enabled on your Pi.
- Verify that port forwarding is set up correctly.
- Ensure your firewall allows SSH traffic.
Issue 2: DDNS Not Working
If your DDNS isn’t updating properly, try the following:
- Check that the DDNS client is running on your Pi.
- Ensure your router allows outgoing connections on port 80.
- Restart your router and try again.
Wrapping It All Up
And there you have it—a comprehensive guide to making your Raspberry Pi accessible from the internet. From setting up port forwarding and DDNS to securing your SSH access and configuring your firewall, we’ve covered all the essential steps to get you up and running.
Remember, security is key when opening your Pi to the internet. Always follow best practices and stay vigilant for any signs of unauthorized access. With a bit of effort and some careful planning, you’ll be able to harness the full potential of your Raspberry Pi from anywhere in the world.
So, what are you waiting for? Get out there and start experimenting! And don’t forget to share your experiences in the comments below. Who knows, you might just inspire someone else to take their Raspberry Pi adventure to the next level!