So, you’ve got yourself a Raspberry Pi and you’re wondering how to connect to it from anywhere in the world? Well, buckle up because we’re diving deep into this tech-savvy adventure. Connecting your Raspberry Pi over the internet isn’t as scary as it sounds. In fact, it’s one of those skills that can seriously up your tech game. Whether you're setting up a home server, controlling devices remotely, or just flexing your coding muscles, mastering this skill is worth it. Let's get started, shall we?
Now, before we jump into the nitty-gritty, let’s talk about why connecting your Raspberry Pi to the internet is such a big deal. Imagine being able to access your Pi from your phone while you’re sipping coffee at a café miles away or debugging a project while lounging on the couch. Sounds awesome, right? But hold your horses—there’s a bit of setup involved, and that’s where this guide comes in. We’ll break it down step by step so you won’t feel lost in the sauce.
Before we dive deeper, let me give you a quick heads-up: security is key here. Exposing your Raspberry Pi to the internet opens up potential vulnerabilities, but don’t worry—we’ll cover how to keep things locked down tight. So, if you're ready to take your Raspberry Pi game to the next level, keep reading. Let’s make sure you’re fully equipped to connect to your Raspberry Pi over the internet safely and efficiently.
Read also:Temporary Replacement Part 3 The Ultimate Guide You Need Right Now
Table of Contents
- Why Connect to Raspberry Pi Over the Internet?
- Preparing Your Raspberry Pi for Remote Access
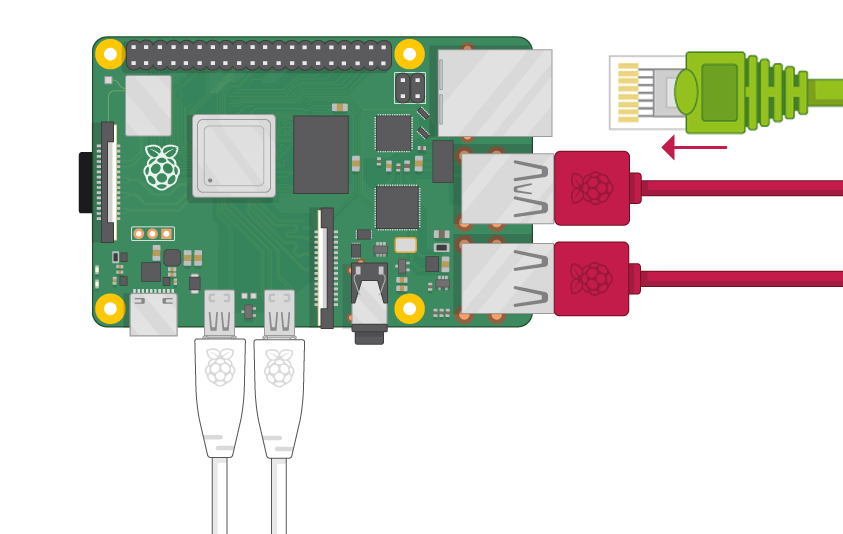
- Setting Up Your Network
- Using SSH Tunneling
- Using Ngrok for Quick Access
- Understanding Port Forwarding
- Dynamic DNS (DDNS) Services
- Security Tips for Remote Connections
- Troubleshooting Common Issues
- Final Thoughts
Why Connect to Raspberry Pi Over the Internet?
Connecting to your Raspberry Pi over the internet opens up a world of possibilities. From running a personal web server to automating smart home devices, the potential applications are endless. Here are a few reasons why you’d want to do this:
- **Remote Access:** You can access your Pi from anywhere, making it super convenient for troubleshooting or managing projects.
- **Automation:** Set up scripts that run automatically, allowing you to control devices or monitor data remotely.
- **Learning:** It’s a great way to learn more about networking, security, and system administration.
- **Flexibility:** Whether you're running a media server or hosting a blog, having remote access gives you the freedom to manage everything without being physically present.
But remember, with great power comes great responsibility. You’ll need to ensure your setup is secure to avoid any unwanted intrusions. Let’s move on to the next step—preparing your Raspberry Pi.
Preparing Your Raspberry Pi for Remote Access
Alright, let’s get your Raspberry Pi ready for action. First things first, make sure your Pi is up and running. Here’s what you’ll need:
Hardware Requirements
- Raspberry Pi (any model with Ethernet or Wi-Fi capabilities)
- Power supply
- MicroSD card with Raspberry Pi OS installed
- Keyboard and monitor (optional, but useful for initial setup)
Software Setup
Once your hardware is sorted, it’s time to set up the software. Follow these steps:
- **Update Your System:** Run `sudo apt update` and `sudo apt upgrade` to ensure everything is current.
- **Enable SSH:** Head over to the Raspberry Pi Configuration tool (`sudo raspi-config`) and enable SSH under the Interfacing Options.
- **Set a Static IP Address:** This ensures your Pi always has the same address on your local network. You can do this via your router settings or by configuring it directly on your Pi.
Now that your Pi is prepped, let’s talk about setting up your network.
Setting Up Your Network
Your home network plays a crucial role in connecting your Raspberry Pi to the internet. Here’s how you can optimize it:
Read also:Stevie Wonder Children A Journey Through Music Legacy And Family
Check Your Router Settings
Make sure your router supports port forwarding and DDNS. Most modern routers have these features, but it’s always good to double-check. Log in to your router’s admin panel and look for these options.
Assign a Static IP
Assigning a static IP to your Raspberry Pi ensures it always has the same address on your network. This makes it easier to manage and reduces the chances of IP conflicts.
Test Your Connection
Before moving on, test your local connection to ensure everything is working as expected. Try accessing your Pi via SSH from another device on the same network.
With your network ready, let’s explore some methods for connecting to your Raspberry Pi over the internet.
Using SSH Tunneling
SSH (Secure Shell) is one of the most common ways to connect to a Raspberry Pi remotely. It’s secure, reliable, and easy to set up. Here’s how you can use SSH tunneling:
Steps to Set Up SSH
- **Install an SSH Client:** On Windows, you can use PuTTY. On macOS and Linux, SSH is usually pre-installed.
- **Connect to Your Pi:** Use the command `ssh pi@
` to connect. Replace ` ` with your Pi’s actual IP address. - **Set Up Keys (Optional):** For added security, consider setting up SSH keys instead of using passwords.
SSH tunneling is great for secure connections, but sometimes you need something quicker and easier. That’s where tools like Ngrok come in.
Using Ngrok for Quick Access
Ngrok is a fantastic tool for creating temporary tunnels to your Raspberry Pi. It’s perfect for testing and debugging without the hassle of configuring your router.
How to Use Ngrok
- **Download Ngrok:** Head over to the Ngrok website and download the appropriate version for your Pi.
- **Start the Tunnel:** Run `./ngrok tcp 22` to create a tunnel for SSH access.
- **Access Your Pi:** Ngrok will provide you with a public URL that you can use to connect to your Pi from anywhere.
Ngrok is super handy for quick access, but for long-term solutions, you’ll want to look into port forwarding or DDNS.
Understanding Port Forwarding
Port forwarding is a powerful technique that allows you to expose specific services on your Raspberry Pi to the internet. It’s a bit more involved than using tools like Ngrok, but it’s worth the effort.
Steps to Set Up Port Forwarding
- **Log in to Your Router:** Access your router’s admin panel and find the port forwarding section.
- **Add a Rule:** Create a new rule that forwards incoming traffic on port 22 (for SSH) to your Raspberry Pi’s IP address.
- **Test the Connection:** Try connecting to your Pi using your public IP address and the forwarded port.
Port forwarding gives you direct access to your Pi, but it also requires careful attention to security. Let’s talk about that next.
Dynamic DNS (DDNS) Services
If your ISP assigns you a dynamic IP address, connecting to your Raspberry Pi can be tricky. That’s where DDNS services come in. They provide you with a hostname that updates automatically when your IP changes.
Popular DDNS Providers
- No-IP
- Dynu
- FreeDNS
Most of these services offer free plans, so you don’t have to break the bank. Just sign up, configure your Pi to update the DDNS server, and you’re good to go.
Security Tips for Remote Connections
Security should always be at the forefront of your mind when exposing your Raspberry Pi to the internet. Here are some tips to keep your setup safe:
- **Use Strong Passwords:** Avoid using default passwords like `raspberry`. Opt for something stronger and unique.
- **Enable Two-Factor Authentication (2FA):** If possible, set up 2FA for an extra layer of protection.
- **Limit Access:** Restrict SSH access to specific IP addresses if you only need to connect from certain locations.
- **Keep Software Updated:** Regularly update your Pi’s software to patch any security vulnerabilities.
By following these tips, you’ll significantly reduce the risk of unauthorized access to your Raspberry Pi.
Troubleshooting Common Issues
Even with the best preparation, things can go wrong. Here are some common issues you might encounter and how to fix them:
Can’t Connect to Pi
Make sure your Pi is online and that your router is configured correctly. Double-check your IP addresses and port settings.
Slow Connection
If your connection is sluggish, try optimizing your network settings or switching to a wired connection if you’re using Wi-Fi.
Security Warnings
If you’re getting security warnings, ensure your SSH keys are properly configured and that your firewall isn’t blocking legitimate traffic.
Now that we’ve covered everything from setup to troubleshooting, let’s wrap things up.
Final Thoughts
Connecting to your Raspberry Pi over the internet might seem daunting at first, but with the right tools and knowledge, it’s definitely achievable. From SSH tunneling to DDNS services, there are plenty of options to suit your needs. Just remember to prioritize security and keep your system up to date.
We hope this guide has been helpful in your journey to mastering remote access. If you have any questions or run into issues, feel free to leave a comment below. And don’t forget to share this article with your fellow Pi enthusiasts. Happy tinkering!
Oh, and one last thing—stay curious and keep learning. The world of Raspberry Pi is vast and full of possibilities. Who knows what cool projects you’ll come up with next?