Accessing Raspberry Pi from the internet might sound complicated at first, but trust me, it’s not as scary as it seems. Picture this: you have your Raspberry Pi set up at home, running all sorts of cool projects. Now imagine being able to control or access it from anywhere in the world—whether you're chilling at a café or on vacation across the globe. Sounds awesome, right? Well, that’s exactly what we’re diving into today. Let’s make your Raspberry Pi accessible from the internet without losing your mind in the process.
Before we jump into the nitty-gritty, let’s clear something up. This guide isn’t just for tech wizards or seasoned Raspberry Pi enthusiasts. Even if you’re a newbie, I’ve got you covered. We’ll break everything down step by step so you can confidently set up remote access for your Pi. Plus, we’ll make sure it’s secure because, well, no one wants their project hacked, am I right?
Now, if you’re already thinking, “Is this really necessary?”—the answer is yes. Accessing your Raspberry Pi from the internet opens up endless possibilities. Think remote monitoring, automation, file sharing, or even running a personal server. So, buckle up because we’re about to dive deep into the world of networking, security, and Pi magic.
Read also:The Wire Characters A Deep Dive Into Baltimores Most Iconic Figures
Why Accessing Raspberry Pi from the Internet Matters
First things first, why would anyone want to access their Raspberry Pi remotely? Here’s the deal: your Pi is more than just a tiny computer. It’s a powerhouse for all sorts of projects, from home automation to media centers, web servers, and beyond. By making it accessible from the internet, you’re giving yourself the freedom to control, manage, and interact with your projects from anywhere. How cool is that?
Benefits of Remote Access
Let’s break it down with some bullet points:
- Flexibility: Work on your projects even when you’re not physically near your Pi.
- Automation: Set up scripts or apps that run automatically based on your remote commands.
- File Sharing: Access important files stored on your Pi from any device.
- Monitoring: Keep an eye on your home security cameras, temperature sensors, or other IoT devices connected to your Pi.
- Learning: Experiment with networking and cybersecurity concepts in a real-world scenario.
These benefits aren’t just theoretical—they’re practical solutions to real-world problems. Whether you’re a hobbyist or a professional, having remote access to your Pi can be a game-changer.
Understanding the Basics: What You Need to Know
Before we get our hands dirty, let’s cover some basics. Accessing Raspberry Pi from the internet involves a few key concepts:
- IP Address: Think of it as your Pi’s address on the internet.
- Port Forwarding: This is how you direct incoming internet traffic to your Pi.
- SSH (Secure Shell): A secure way to connect to your Pi remotely.
- DDNS (Dynamic DNS): Helps you access your Pi even if your IP address changes.
Don’t worry if these terms sound confusing right now. We’ll explain each one in detail later. For now, just know that they’re essential pieces of the puzzle.
What You’ll Need
Here’s a quick list of things you’ll need to get started:
Read also:Is Timothy Olyphant Sick The Truth Behind The Rumors
- A Raspberry Pi (duh).
- An active internet connection.
- A router with port forwarding capabilities.
- A static IP address for your Pi (or a DDNS service).
- A basic understanding of networking (don’t panic—we’ll guide you).
Got all that? Great! Let’s move on to the fun part.
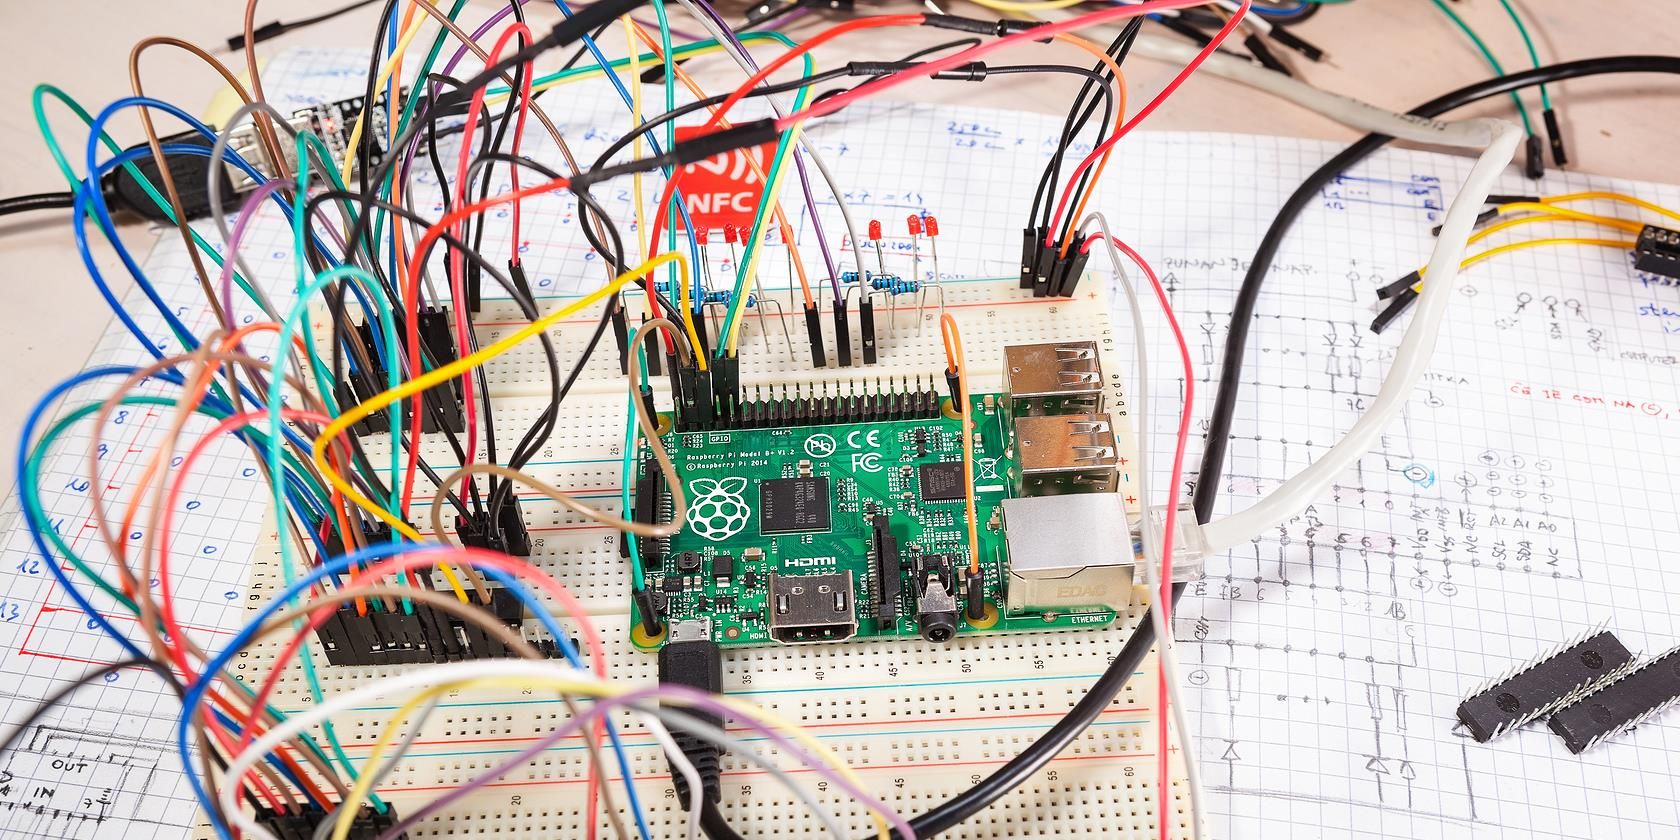
Step 1: Setting Up Your Raspberry Pi
Alright, let’s start with the basics. Your Raspberry Pi needs to be set up properly before you can access it from the internet. Here’s how:
Assigning a Static IP Address
First, you’ll want to assign a static IP address to your Pi. This ensures that your Pi always has the same address on your local network, making it easier to connect to. Here’s how you do it:
- Log in to your Pi via SSH or directly.
- Open the terminal and type
sudo nano /etc/dhcpcd.conf. - Add the following lines at the bottom of the file:
 interface eth0
 static ip_address=192.168.1.100/24
 static routers=192.168.1.1
 static domain_name_servers=192.168.1.1
Save and exit. Reboot your Pi with sudo reboot.
Enabling SSH
SSH is the key to accessing your Pi remotely. To enable it:
- Go to the Raspberry Pi Configuration tool (
sudo raspi-config). - Select
Interfacing Options>SSH>Enable. - Reboot your Pi.
That’s it! Your Pi is now ready for remote access.
Step 2: Configuring Your Router
Now that your Pi is set up, it’s time to configure your router. This step involves port forwarding, which allows incoming internet traffic to reach your Pi.
What Is Port Forwarding?
Think of port forwarding like a mailbox. When someone sends you a letter, it goes to your mailbox. Similarly, when someone tries to connect to your Pi from the internet, port forwarding directs that connection to your Pi’s IP address.
How to Set Up Port Forwarding
Here’s how you do it:
- Log in to your router’s admin panel (usually at
192.168.1.1). - Find the
Port ForwardingorVirtual Serverssection. - Add a new rule with the following details:
- Service Name: SSH
- External Port: 22
- Internal IP: Your Pi’s static IP (e.g., 192.168.1.100)
- Internal Port: 22
Save the changes and restart your router.
Step 3: Using Dynamic DNS (DDNS)
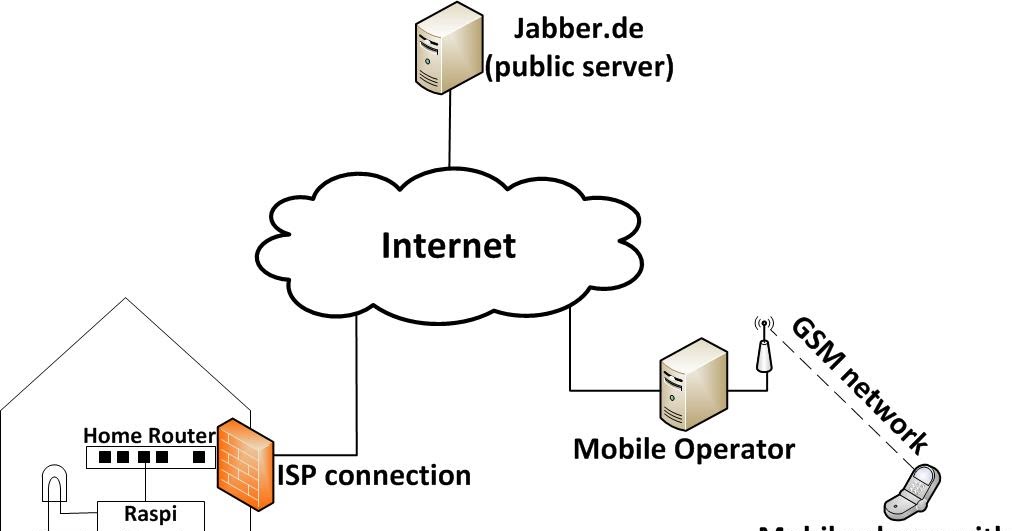
Here’s the deal: your internet service provider (ISP) might change your public IP address periodically. This makes it hard to connect to your Pi consistently. That’s where DDNS comes in.
What Is DDNS?
DDNS services provide you with a domain name (like myraspberrypi.ddns.net) that updates automatically whenever your IP address changes. It’s like a permanent address for your Pi.
How to Set Up DDNS
Here’s a simple way to set it up:
- Sign up for a free DDNS service like No-IP or DuckDNS.
- Install the DDNS client on your Pi. For example, if you’re using DuckDNS:
 sudo apt update
 sudo apt install curl
 curl https://www.duckdns.org/install.sh | bash
Follow the prompts to configure the client with your DDNS domain.
Step 4: Testing Your Connection
Now that everything is set up, it’s time to test your connection. Here’s how:
Using SSH from Another Device
From another device (like your laptop or phone), open a terminal or SSH client and type:
ssh pi@your.ddns.domain
Enter your Pi’s password when prompted. If you see the Raspberry Pi prompt, congratulations! You’ve successfully accessed your Pi from the internet.
Step 5: Securing Your Pi
Security is crucial when exposing your Pi to the internet. Here are some tips to keep your Pi safe:
Change the Default SSH Port
Changing the default SSH port (22) makes it harder for attackers to find your Pi. To do this:
- Edit the SSH config file:
sudo nano /etc/ssh/sshd_config. - Change the
Portline to something like 2222. - Restart SSH:
sudo service ssh restart.
Use Strong Passwords
Make sure your Pi’s password is strong and unique. Avoid using “raspberry” or any other common passwords.
Enable Firewall Rules
A firewall adds an extra layer of protection. Use ufw to set up basic rules:
 sudo apt install ufw
 sudo ufw allow 2222/tcp
 sudo ufw enable
Step 6: Exploring Advanced Features
Once you’ve got the basics down, it’s time to explore some advanced features:
Setting Up a Web Server
Turn your Pi into a web server using software like Apache or Nginx. This allows you to host websites or web applications remotely.
Remote Desktop Access
Use tools like VNC or TeamViewer to access your Pi’s desktop interface from anywhere.
Conclusion
Accessing Raspberry Pi from the internet isn’t as intimidating as it seems. With the right setup and a bit of patience, you can unlock a world of possibilities. From remote control to file sharing, the opportunities are endless. Just remember to prioritize security to keep your Pi safe from prying eyes.
So, what are you waiting for? Grab your Pi, follow the steps, and start exploring. And don’t forget to share your experience in the comments below. Happy Pi-ing!
Table of Contents