Hey there, tech enthusiast! If you're here, chances are you're diving headfirst into the world of IoT devices and trying to figure out how to SSH into an AWS-hosted Ubuntu server. Let’s be real—this process can feel like navigating a maze at first, but don’t sweat it. I’ve got your back. Today, we’re breaking down everything you need to know about IoT device SSH download AWS Ubuntu. Whether you're a beginner or just brushing up on your skills, this guide will help you get things rolling without breaking a sweat.
Now, before we dive in, let’s talk about why this matters. IoT devices are everywhere these days, from smart home gadgets to industrial automation tools. But here's the deal: connecting them to the cloud can be tricky if you don’t know what you’re doing. SSH (Secure Shell) is the golden key to managing remote servers securely, and AWS Ubuntu is one of the most popular platforms out there for hosting IoT applications. So, if you're ready to level up your tech game, keep reading!
By the end of this guide, you’ll not only know how to set up your IoT device to communicate with an AWS-hosted Ubuntu server but also how to troubleshoot common issues and optimize your setup for maximum efficiency. Stick around, because we’re about to get our hands dirty with some seriously cool tech stuff!
Read also:Chiney Ogwumike Husband The Love Story You Didnrsquot Know About
What Exactly is IoT Device SSH Download AWS Ubuntu?
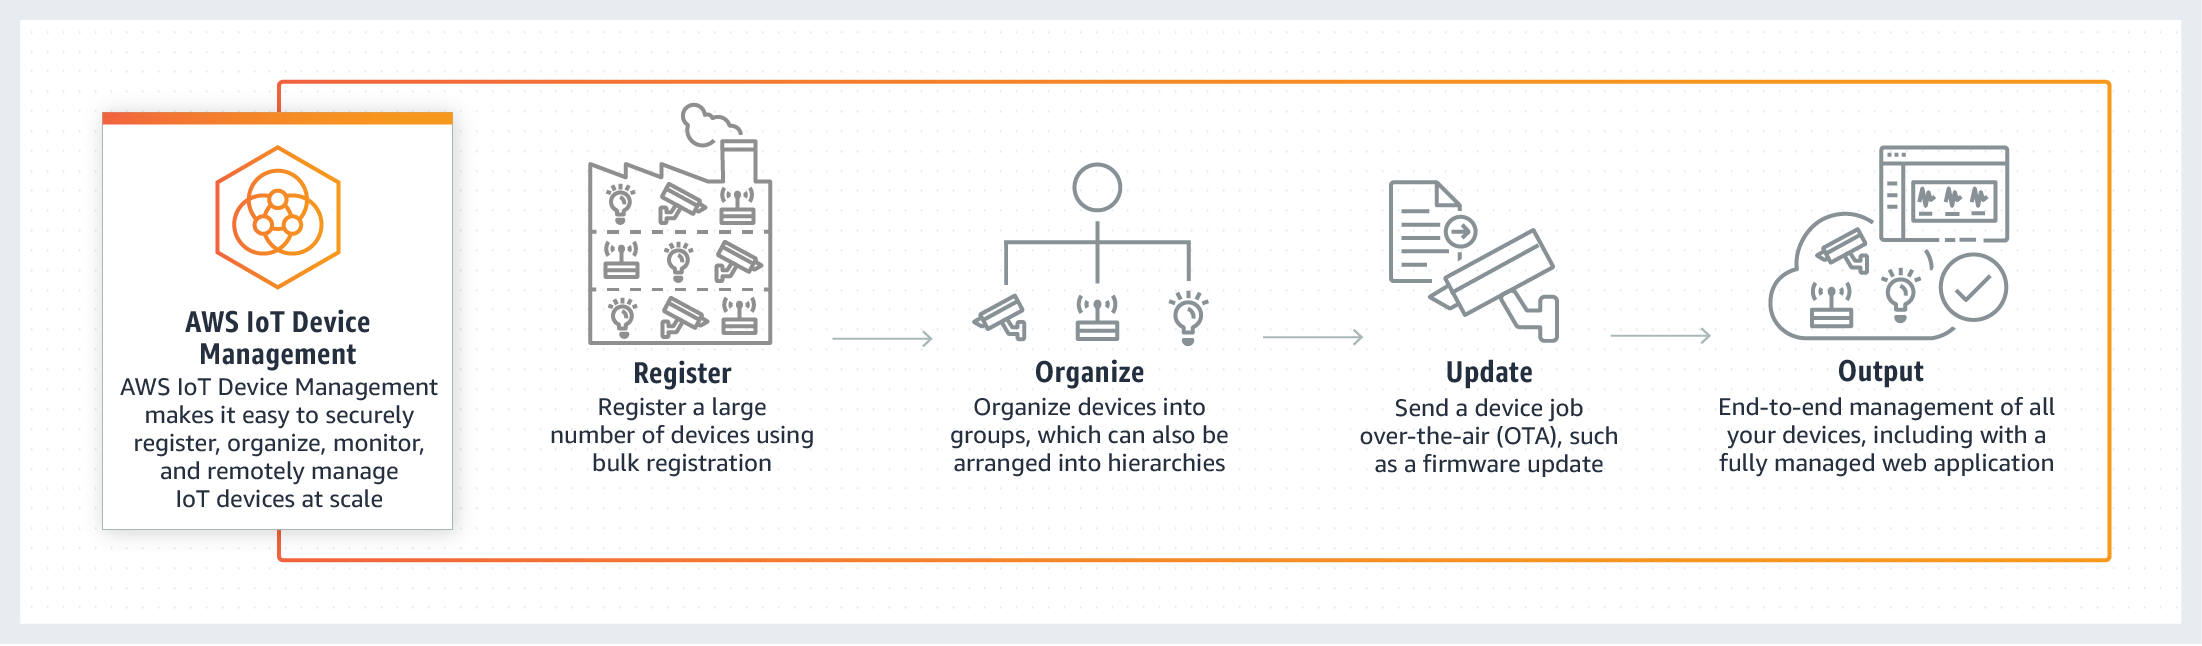
Let’s start with the basics. IoT stands for Internet of Things, and it’s all about connecting physical devices to the internet so they can send and receive data. Now, when we talk about IoT device SSH download AWS Ubuntu, we’re referring to the process of securely connecting your IoT device to a remote server hosted on Amazon Web Services (AWS) using an Ubuntu operating system.
SSH, or Secure Shell, is a protocol that lets you access and control remote computers or servers securely. It’s like having a virtual key that lets you log in to your server from anywhere in the world. AWS provides the infrastructure, and Ubuntu is the operating system that runs on the server. Together, they create a powerful platform for managing IoT devices.
Why use AWS? Well, it’s scalable, reliable, and packed with features that make it a favorite among developers. Plus, Ubuntu is open-source, which means it’s free and comes with a massive community of users who can help you out if you get stuck. So, whether you’re building a smart thermostat or a fleet of drones, this setup is a great place to start.
Why Use AWS for Your IoT Projects?
Alright, let’s talk about AWS. Why is it such a big deal for IoT projects? For starters, AWS offers a ton of services that are specifically designed for IoT applications. From device management to data analytics, AWS has got you covered. Here are a few reasons why AWS is the go-to platform for IoT developers:
- Scalability: AWS can handle millions of devices without breaking a sweat. Whether you’re managing a few sensors or an entire smart city, AWS can scale to meet your needs.
- Security: Security is a top priority for IoT projects, and AWS offers a range of tools to help you keep your data safe. From encryption to identity management, AWS has everything you need to protect your IoT devices.
- Integration: AWS integrates seamlessly with other services, making it easy to build complex IoT applications. You can connect your devices to databases, analytics tools, and more with just a few clicks.
- Cost-Effective: AWS operates on a pay-as-you-go model, so you only pay for what you use. This makes it a great option for startups and small businesses that want to keep costs down.
But here’s the kicker: AWS isn’t just for big companies. Even if you’re working on a small project, AWS can help you take it to the next level. Plus, with free tier options, you can try out the platform without spending a dime.
Setting Up Your AWS Account
Before you can start playing around with IoT devices and SSH, you’ll need to set up an AWS account. Don’t worry—it’s not as complicated as it sounds. Here’s a quick rundown of what you need to do:
Read also:Unveiling The Mystique 10901080109011011085 108510721090107210851080110110831100 109010801092109210801085 A Name That Echoes Through Time
Step 1: Sign Up for AWS
Head over to the AWS website and click on “Create an AWS Account.” You’ll need to provide some basic information, like your email address and payment details. But don’t freak out—AWS offers a free tier that lets you try out most of its services without charging you a cent.
Step 2: Choose Your Services
Once you’ve signed up, you’ll need to choose the services you want to use. For IoT projects, you’ll probably want to start with EC2 (Elastic Compute Cloud) and IoT Core. EC2 is where you’ll host your Ubuntu server, and IoT Core is where you’ll manage your devices.
Step 3: Configure Your Security Settings
Security is key when it comes to IoT devices. Make sure you set up strong passwords and enable multi-factor authentication (MFA) to keep your account safe. AWS also offers a range of security features, like encryption and access control, that you can use to protect your data.
Pro tip: Take some time to familiarize yourself with AWS’s documentation. It’s packed with useful information that can help you get the most out of the platform.
Installing Ubuntu on AWS
Now that you’ve got your AWS account set up, it’s time to install Ubuntu on your server. Here’s how you do it:
Step 1: Launch an EC2 Instance
Head over to the EC2 dashboard and click on “Launch Instance.” You’ll be presented with a list of different operating systems to choose from. Select Ubuntu and choose the version that best suits your needs.
Step 2: Configure Your Instance
Once you’ve selected your operating system, you’ll need to configure your instance. This includes setting up things like storage, networking, and security groups. Don’t worry if it sounds intimidating—AWS provides plenty of default settings that will work just fine for most projects.
Step 3: Connect to Your Instance
Once your instance is up and running, you’ll need to connect to it using SSH. AWS will provide you with a key pair that you can use to log in. Simply download the key file and use it to connect to your server from your local machine.
Pro tip: Make sure you store your key file in a secure location. If someone gets their hands on it, they could gain access to your server.
SSH: The Secure Way to Access Your Server
Now that your server is up and running, it’s time to talk about SSH. SSH is a protocol that lets you access your server securely from anywhere in the world. Here’s how it works:
- Authentication: SSH uses keys to authenticate users. This means that instead of typing in a password every time you want to log in, you use a key file that proves your identity.
- Encryption: SSH encrypts all data that’s sent between your local machine and the server. This ensures that even if someone intercepts your connection, they won’t be able to read your data.
- Command-Line Access: SSH gives you command-line access to your server, which means you can run commands and manage files just like you would on your local machine.
Setting up SSH is pretty straightforward. All you need is a key file and an SSH client. Most modern operating systems come with SSH built-in, so you don’t need to install anything extra.
Connecting Your IoT Device to AWS
Alright, let’s get to the fun part: connecting your IoT device to your AWS-hosted Ubuntu server. Here’s how you do it:
Step 1: Install the Necessary Software
Before you can connect your device, you’ll need to install some software. This includes things like the AWS IoT Device SDK and any libraries your device needs to communicate with the server.
Step 2: Configure Your Device
Once you’ve installed the software, you’ll need to configure your device to connect to your server. This involves setting up things like certificates, endpoints, and security policies. AWS provides detailed documentation that can help you with this process.
Step 3: Test Your Connection
Once everything is set up, it’s time to test your connection. Use SSH to log in to your server and make sure your device is communicating properly. If everything is working as it should, you should see data flowing from your device to the server.
Pro tip: Keep an eye on your server logs. They can help you troubleshoot any issues that might arise and give you insight into how your device is performing.
Troubleshooting Common Issues
Even the best-laid plans can go awry sometimes. Here are a few common issues you might run into when working with IoT device SSH download AWS Ubuntu and how to fix them:
- Connection Errors: If you’re having trouble connecting to your server, double-check your key file and make sure your security groups are configured correctly.
- Data Transfer Issues: If your device isn’t sending data to the server, check your certificates and make sure your device is configured properly.
- Performance Problems: If your server is running slow, consider upgrading your instance or optimizing your code for better performance.
Remember, troubleshooting is all about patience and persistence. If you run into a problem, don’t give up. Chances are, someone else has already solved it, so don’t hesitate to reach out to the community for help.
Optimizing Your IoT Setup
Now that you’ve got everything up and running, it’s time to optimize your setup. Here are a few tips to help you get the most out of your IoT project:
- Automate Where Possible: Use tools like AWS Lambda to automate repetitive tasks and free up your time for more important things.
- Monitor Your Devices: Use AWS IoT Core’s monitoring tools to keep an eye on your devices and identify potential issues before they become problems.
- Secure Your Data: Make sure you’re using the latest encryption protocols and regularly updating your security settings to keep your data safe.
By following these tips, you can ensure that your IoT project is running smoothly and delivering the results you need.
Conclusion
Well, there you have it—a comprehensive guide to IoT device SSH download AWS Ubuntu. Whether you’re a seasoned pro or just starting out, I hope this article has given you the tools and knowledge you need to take your IoT projects to the next level.
Before you go, here’s a quick recap of what we covered:
- What IoT device SSH download AWS Ubuntu is and why it matters.
- Why AWS is the best platform for IoT projects.
- How to set up your AWS account and install Ubuntu on your server.
- How to connect your IoT device to your server and troubleshoot common issues.
- Tips for optimizing your IoT setup for maximum efficiency.
Now, it’s your turn! If you found this article helpful, don’t forget to leave a comment or share it with your friends. And if you’re ready to dive deeper into the world of IoT, check out some of our other articles for more tips and tricks. Happy coding!
Table of Contents