**So, you’ve got a Raspberry Pi sitting on your desk, and you’re wondering how to remotely connect to Raspberry Pi from PC?** Well, you’re in the right place. Whether you’re a tech enthusiast, a hobbyist, or just someone who wants to explore the world of remote computing, this guide is here to help. Imagine being able to control your Raspberry Pi from the comfort of your PC without needing to sit right next to it. Sounds cool, right? Let’s dive into the basics and make this happen!
Connecting remotely to your Raspberry Pi isn’t as complicated as it might sound. In fact, with the right tools and a bit of know-how, you can set up a seamless connection in no time. This guide will walk you through everything you need to know about remotely connecting to Raspberry Pi from PC. From setting up SSH to using VNC, we’ve got you covered.
Now, before we jump into the nitty-gritty, let’s talk about why this is important. Remote connections allow you to manage your Raspberry Pi from anywhere, whether you’re at home, in the office, or even on vacation. It’s like having a superpower for your tiny computer. So, grab a cup of coffee, and let’s get started!
Read also:Eve Kretz Age Unveiling The Life And Journey Of A Rising Star
What You Need to Remotely Connect to Raspberry Pi
First things first, you’ll need a few things to make this work. Don’t worry; most of these are probably already on your radar if you’ve been tinkering with Raspberry Pi. Here’s a quick list:
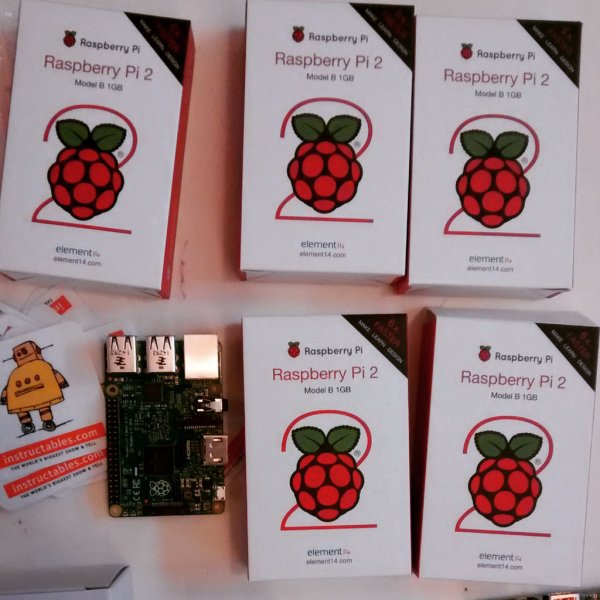
- A Raspberry Pi (duh!)
- A PC or laptop running Windows, macOS, or Linux
- An active internet connection (wired or wireless)
- An SD card with Raspberry Pi OS installed
- A keyboard and monitor (temporarily needed for setup)
- A VNC client or SSH client software
Once you’ve gathered everything, you’re ready to move on to the next step. But hey, don’t rush! Take a moment to double-check your setup. Trust me, it’ll save you a headache later on.
Understanding SSH: Your Gateway to Remote Access
SSH, or Secure Shell, is one of the most popular methods for remotely connecting to Raspberry Pi from PC. It’s like a secret tunnel that lets you communicate with your Pi securely. To enable SSH, follow these simple steps:
Enabling SSH on Your Raspberry Pi
Here’s how you can turn on SSH:
- Boot up your Raspberry Pi and log in.
- Open the terminal (it’s that black box with a prompt).
- Type
sudo raspi-configand hit Enter. - Select “Interfacing Options” and navigate to SSH.
- Choose “Yes” to enable SSH and confirm.
- Reboot your Raspberry Pi to apply the changes.
And that’s it! SSH is now ready to roll. But wait, there’s more. You’ll also need to know your Pi’s IP address to connect from your PC. To find it, type hostname -I in the terminal. Easy peasy, right?
Using PuTTY for SSH Connections
PuTTY is a popular SSH client for Windows users. Here’s how you can use it to connect to your Raspberry Pi:
Read also:November 1 Zodiac Sign Discover The Traits And Secrets Of Scorpio
- Download and install PuTTY from the official website.
- Open PuTTY and enter your Raspberry Pi’s IP address in the “Host Name” field.
- Set the port to 22 (default for SSH).
- Click “Open” to establish the connection.
- Log in with your Raspberry Pi credentials (usually “pi” as the username and “raspberry” as the password).
And voilà! You’re now connected to your Raspberry Pi via SSH. Pretty neat, huh?
Exploring VNC for Remote Desktop Access
While SSH is great for command-line access, sometimes you need a full graphical interface. That’s where VNC comes in. VNC allows you to remotely control your Raspberry Pi’s desktop as if you were sitting right in front of it.
Setting Up VNC on Raspberry Pi
Here’s how to get VNC up and running:
- Open the Raspberry Pi Configuration tool (
sudo raspi-config). - Go to “Interfacing Options” and enable VNC.
- Reboot your Raspberry Pi to apply the changes.
Next, download and install a VNC client on your PC. RealVNC Viewer is a great choice and works seamlessly with Raspberry Pi.
Connecting to Raspberry Pi with VNC
Once VNC is set up, connecting is a breeze:
- Open RealVNC Viewer on your PC.
- Enter your Raspberry Pi’s IP address and click “Connect.”
- Log in with your Raspberry Pi credentials.
Boom! You’re now looking at your Raspberry Pi’s desktop from your PC. Cool, right?
Troubleshooting Common Issues
Let’s face it—things don’t always go as planned. Here are some common issues you might encounter when trying to remotely connect to Raspberry Pi from PC, along with their solutions:
- Can’t find the IP address: Double-check your network settings or try using a tool like Advanced IP Scanner to locate your Pi.
- Connection refused: Make sure SSH or VNC is enabled and that your firewall isn’t blocking the connection.
- Incorrect credentials: Ensure you’re using the right username and password for your Raspberry Pi.
If none of these work, take a deep breath and revisit the setup steps. Sometimes, a fresh perspective is all you need.
Advanced Tips for Remote Connections
Now that you’ve got the basics down, let’s level up your game with some advanced tips:
Using SSH Keys for Secure Authentication
Instead of using passwords, you can set up SSH keys for a more secure connection. Here’s how:
- Generate an SSH key pair on your PC using tools like PuTTYgen.
- Copy the public key to your Raspberry Pi’s
~/.ssh/authorized_keysfile. - Disable password authentication in the SSH configuration file (
/etc/ssh/sshd_config).
With SSH keys, you’ll never have to worry about forgotten passwords again. Plus, it adds an extra layer of security.
Setting Up a Static IP Address
Tired of hunting for your Pi’s IP address every time you want to connect? Set a static IP address and be done with it:
- Edit the
/etc/dhcpcd.conffile on your Raspberry Pi. - Add your desired static IP address, subnet mask, gateway, and DNS settings.
- Reboot your Raspberry Pi to apply the changes.
Now your Pi will always have the same IP address, making remote connections a breeze.
Why Remote Connections Matter
Remote connections aren’t just a convenience; they’re a necessity in today’s tech-driven world. Whether you’re managing a home automation system, running a web server, or experimenting with IoT projects, being able to control your Raspberry Pi from afar is a game-changer.
Think about it—no more unplugging your keyboard and monitor every time you want to use your Pi. No more cluttered desks or tangled cables. Just pure, uninterrupted productivity. And who doesn’t love that?
Conclusion: Take Action and Start Connecting
We’ve covered a lot of ground in this guide, from setting up SSH and VNC to troubleshooting common issues and exploring advanced tips. By now, you should feel confident in your ability to remotely connect to Raspberry Pi from PC.
So, what are you waiting for? Grab your Raspberry Pi, fire up your PC, and start experimenting. Remember, practice makes perfect. The more you tinker, the better you’ll get.
And don’t forget to share your experiences in the comments below. Did you run into any challenges? Did you discover a cool new trick? Let us know! Together, we can build a community of Raspberry Pi enthusiasts who are ready to take on the world.
Table of Contents
- What You Need to Remotely Connect to Raspberry Pi
- Understanding SSH: Your Gateway to Remote Access
- Using PuTTY for SSH Connections
- Exploring VNC for Remote Desktop Access
- Troubleshooting Common Issues
- Advanced Tips for Remote Connections
- Why Remote Connections Matter
- Conclusion: Take Action and Start Connecting
Happy hacking, and may your Raspberry Pi adventures be endless!